Putz House Kit Tutorial

Decisions, decisions…leave your house white for a minimal look? Glitter just the roof to add a pop of color & sparkle? Or design your own unique combination of paint and glitter? Whatever your style, I hope you have fun making these little Christmas Village houses! This post takes you through assembling a Tealight or Mini putz house kit! To learn all about glittering and adding snow to your houses, please visit my Glitter Tutorial or the All Things Paper Blog.
Getting Started

Gently fold all the scored lines of your house.
Paint your house & trim and allow your pieces to dry thoroughly on wax paper…if you’re not painting, skip to the next step.
Place your house interior side up
Cut vellum pieces to generously cover each window and door opening
Apply Rubber Cement, Tombow Monoglue or Quick Grip Glue around a window opening. Center vellum over the window opening & press in place.
Glue vellum over all window + door openings except the back light hole.
Window Trim
I prefer to glitter window + door trim before I glue it on the house, I think it looks neater, but you can glitter it with the rest of the house after you assemble it or leave it off entirely if you like. No window trim? Skip ahead to Assembling Your House!


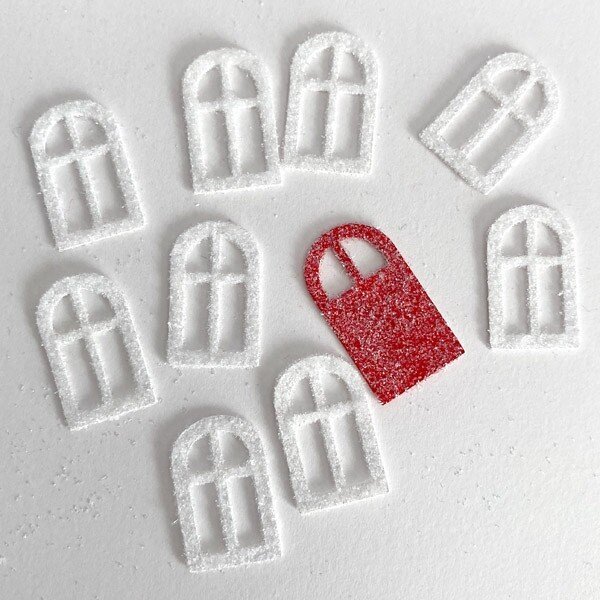
Apply diluted Tacky Glue or Art Institute Glitter Adhesive to the front side of a trim piece.
Transfer the piece to your Glitter Box and pour a thick coat of glitter to completely cover it.
Let trim pieces dry thoroughly before uncovering and applying them to your house.
Applying Window Trim

Make it stand out
Place your house exterior side up. Apply small dots of glue around the back of a Window Trim piece.
Place Trim over a Window opening. Line up inside of Window Trim piece with Window opening. Be sure trim is straight and press in place.
Apply all your Window + Door Trim the same way.
Assembling the House

Using a Fast Grab or Quick Dry glue will make assembly faster. A chopstick or paint brush handle helps reach glue tabs inside the House. This is so easy, we’re just building a simple box.
Set out your glue, House & Base. Fold the House Tab to the Inside of the House & apply glue to the top side of the House Tab.


Place the Open (no glue tab) side of the Base over the House Tab. Line up the edges + press in place. Let dry until set.
Apply glue to a Side Base Tab. Press the glue tab & side of the house together, lining up bottom + side edges. Press in place until set.
Glue the other House & Side Base Glue Tab together the same way.
Apply glue to both remaining Back Glue Tabs. Close the back of the house over the glue tabs. Line up the bottom edges & press in place. Line up the side edges & press glue tabs in place. (chopstick time!) Check and adjust for square. Let dry until set.
After the house is set and dry, place the two Rectangle Roof Tabs inside the 4 Triangle Roof Tabs.
Apply glue to the inside of a Triangle Roof Tab. Place the end of the Rectangle Tab into the fold. Press them together until set.
Glue the other 3 Triangle Tab pieces to close the top of the house.


Roof + Chimney

If you’re going to glitter your house I think its easier to apply the Roof after you glitter.
Dry fit your Roof and House. Lightly mark placement on the underneath side of the Roof to ensure an even overhang.
If you’re not glittering your house, you can glue your Roof and Chimney on now. If you’ are glittering your house, stop here & apply the roof after your glittered house dries.
Apply glue across the Triangle and Rectangle Tabs to just above the bottom edge of the Roof Tabs.
Use your overhang marks to center your Roof over the Peak of the House, Press in press across the surface , front and side edges until set.
Glue your Chimney together. & decide where to place it on the roof. Apply glue to the bottom edges of the Chimney and place on the Roof. Press and hold in place until set.
Congrats! You did it!!
For directions to glitter your house